 how-to
How Do You Prevent Basement Moisture During a Renovation?
Last Updated: October 25, 2026
Quick Summary
Prevent basement moisture during a renovation by fixing the source before you build: divert surface water with clean gutters, downspouts extended at least 6 feet, and soil graded about 1 inch per foot away from the walls. Seal cracks, control humidity between 30% and 50%, and verify the space is dry before closing walls.
- Roughly 80% of basement water issues trace back to surface water that was never properly diverted.
- A hygrometer costs under $30; keep relative humidity between 30% and 50%, since above 60% invites mold.
- Match dehumidifier capacity to size: 20-30 pints/day for up to 500 sq ft, 70+ pints/day for 1,500+ sq ft.
- Clean gutters twice a year and after summer storms, and extend downspouts at least 6 feet from the foundation.
- Avoid carpet installed directly on concrete and fiberglass batts against bare concrete, which can trap moisture and hide mold.
Table of Contents
- Why Basement Moisture Has to Be Solved Before You Build
- Signs of Water Intrusion in a Basement You Should Not Ignore
- Diagnosing the Source: Leaks, Condensation, or Rising Ground Moisture
- How to Reduce Humidity in a Basement Before Walls Go Up
- Basement Dehumidifier Sizing: Match the Unit to the Space
- Basement Waterproofing Before Finishing: Interior Barriers, Coatings, and Drainage
- Exterior Water Control: Gutters, Downspouts, and Grading
- Choosing Moisture-Safe Materials and Sequencing the Build
- Frequently Asked Questions
Why Basement Moisture Has to Be Solved Before You Build
Water damage is the enemy of every finished basement. According to U.S. Waterproofing's guidance on basement water problems, roughly 80% of basement water issues trace back to surface water that was never properly diverted. We have seen what happens when homeowners skip moisture control and build anyway: buckled flooring, mold behind drywall, and a finished space that has to be torn out within a year.
The math is simple. Fixing moisture before you build costs far less than fixing it after. Once walls are closed, every leak becomes a demolition project.
The 80% Rule: Most Water Problems Start Outside
The most important lesson in moisture management is counterintuitive: the water almost never starts inside the basement. It starts on the roof, in the gutters, and in the soil around your foundation. That single fact should shape your entire renovation plan.
If you are still planning the project, our guide to basement finishing contractors in Haymarket VA walks through how to build moisture control into the schedule from day one.
Signs of Water Intrusion in a Basement You Should Not Ignore
Watch for these warning signs before you hang a single sheet of drywall:
- Musty odor that lingers even after cleaning
- White chalky stains on concrete walls, a sign of efflorescence
- Dark streaks or damp patches on the foundation
- Wet floors after heavy rain
- Rust on exposed pipes or metal fixtures
- Peeling paint or bubbling drywall
- Condensation on pipes, walls, or windows in summer
Any one of these signals deserves investigation. Two or more means you should pause the renovation.
Diagnosing the Source: Leaks, Condensation, or Rising Ground Moisture
You cannot fix what you have not identified. Basement moisture comes from three main sources, and each needs a different fix.
Leaks show up as active drips or wet spots after rain. They point to foundation cracks, failed seals, or poor exterior drainage.
Condensation forms when warm, humid air meets a cold surface. It often shows up on pipes and walls in summer.
Rising ground moisture wicks up through the concrete slab and walls. It leaves a damp basement even when it has not rained.
If your diagnosis points to a drain problem, drain repair in Loudoun County can stop the water at its entry point before you build.
Measure Before You Guess: Relative Humidity and Moisture Readings
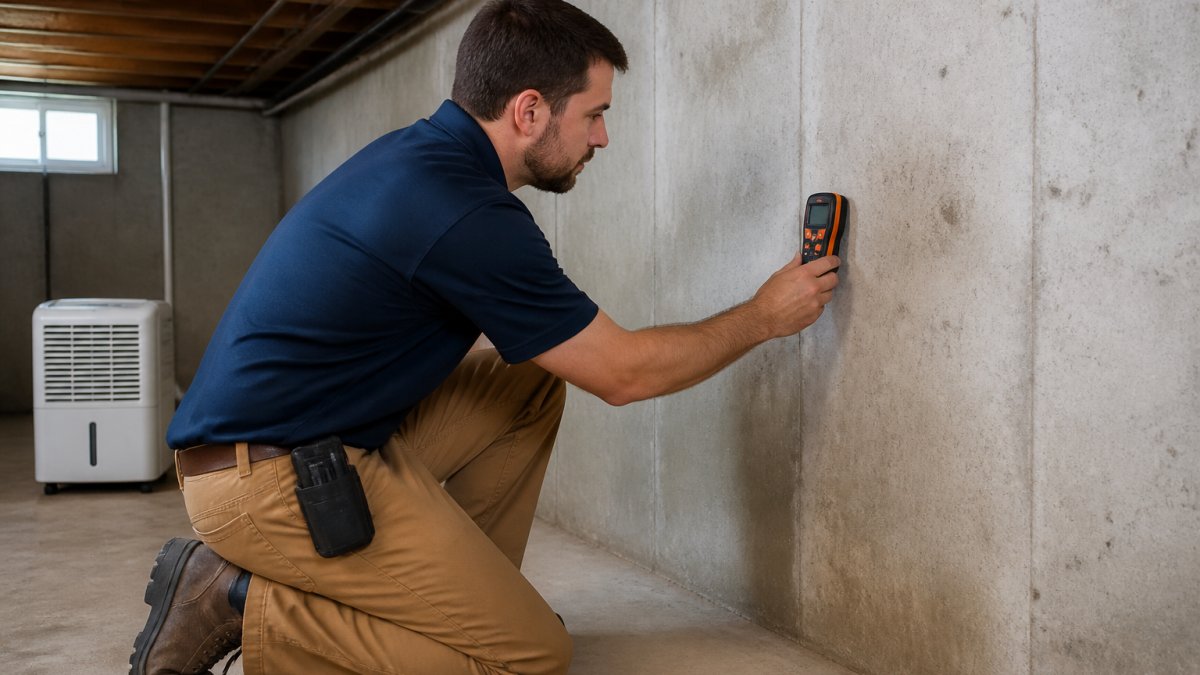
Do not guess. Measure. A simple hygrometer costs under $30 and tells you the relative humidity in the space. Aim to keep it between 30% and 50%. Anything above 60% invites mold.
For concrete, a handheld moisture meter gives you a baseline reading. Test several spots on the floor and walls. Compare readings before and after your moisture fixes. That data tells you when the space is truly dry enough to build.
How to Reduce Humidity in a Basement Before Walls Go Up
Lowering humidity is a step-by-step job. Work through this list before framing:
- Seal foundation cracks with hydraulic cement or polyurethane injection.
- Run a dehumidifier sized for the space. Empty it daily or plumb it to a drain.
- Improve ventilation with open windows on dry days or a small exhaust fan.
- Insulate exposed pipes with foam pipe sleeves to stop condensation.
- Check for leaks after every heavy rain and log what you find.
The University of Minnesota Extension's guidance on basement moisture is blunt about this: control the source rather than stop moisture at the last line of defense.
Basement Dehumidifier Sizing: Match the Unit to the Space
A dehumidifier that is too small runs nonstop and never catches up. One that is too big wastes energy. Match the unit to the square footage.
| Basement Size | Dampness Level | Recommended Capacity |
|---|---|---|
| Up to 500 sq ft | Slightly damp | 20-30 pints/day |
| 500-1,000 sq ft | Damp | 30-50 pints/day |
| 1,000-1,500 sq ft | Very damp | 50-70 pints/day |
| 1,500+ sq ft | Wet | 70+ pints/day |
Run the unit continuously during the wet season. Set it to 50% relative humidity and leave it alone.
Basement Waterproofing Before Finishing: Interior Barriers, Coatings, and Drainage
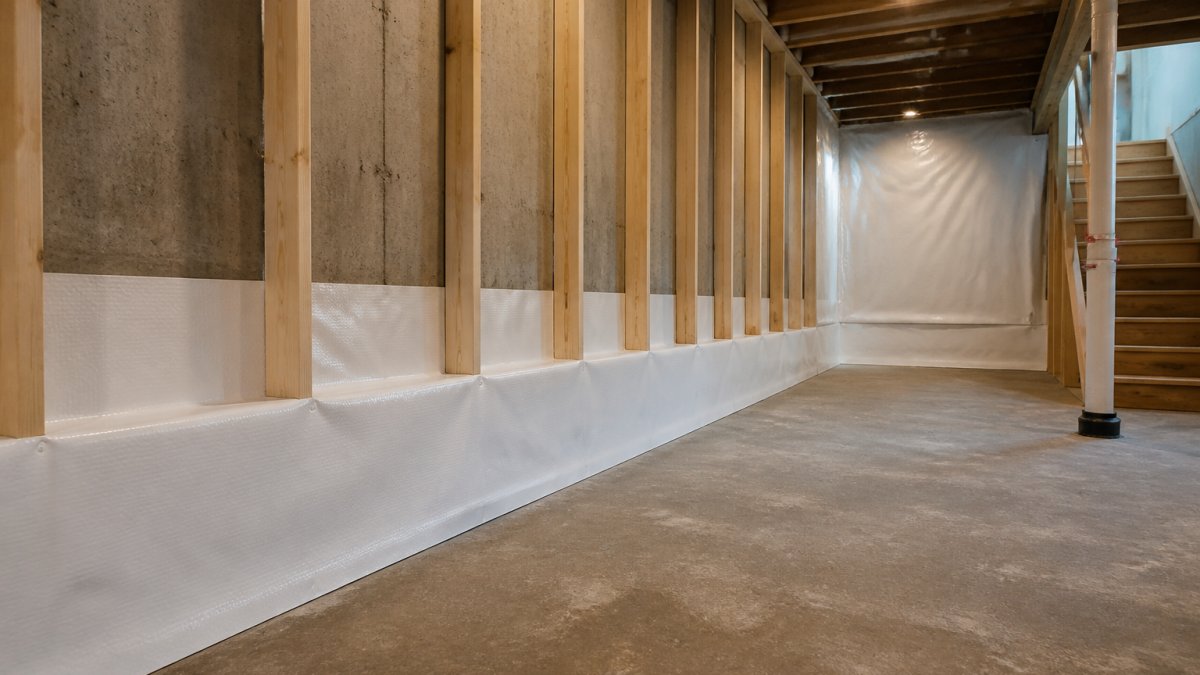
Waterproofing before finishing is the step most homeowners rush. Do not. Vapor barriers and vapor-retarder coatings can stop ground moisture from rising into the space, and the EPA's remodeling guidance identifies proper vapor barriers as a core moisture-control method.
Interior drainage systems catch water at the footing and route it to a sump. Wall encapsulation seals the entire wall surface. Both are worth the cost when the moisture problem is persistent.
If you are ready to plan the finished space, see basement finishing in Loudoun County, VA. If interior drainage is part of your fix, drain installation in Loudoun County covers the service side.
Exterior Water Control: Gutters, Downspouts, and Grading
The cheapest moisture fix is often the one outside the house. Clean gutters twice a year and after summer storms. Extend downspouts at least 6 feet from the foundation. Grade soil so it slopes away from the walls at roughly 1 inch per foot.
These three steps alone solve most surface drainage problems. Skip them and no amount of interior waterproofing will keep the basement dry.
Choosing Moisture-Safe Materials and Sequencing the Build
Materials matter as much as fixes, and the order you install them matters more than most homeowners expect. The goal is a wall and floor assembly that lets moisture dry toward the interior or drain away, never one that traps it against concrete.
Sequence the build around inspection gates
Treat the renovation as a series of gates, not a checklist. Do not start the next stage until the previous one passes:
- Diagnose and fix the source. Bulk water, wicking, plumbing leaks, condensation, and humid-air infiltration each need a different repair. Covering a symptom with a coating or barrier is how finished basements fail.
- Dry and verify. Use the testing plan above. Air relative humidity in the 30%-50% range, material readings back to the dry baseline, and product specs met.
- Install drainage and vapor control. Interior drainage and sump if the diagnosis calls for it; a continuous vapor retarder or barrier appropriate to the assembly.
- Frame and insulate. Keep framing off the concrete where the assembly allows, and use insulation that tolerates damp conditions.
- Inspect before closing. Photograph the framing cavity, confirm no active leaks after a rain, and re-check readings. This is the last cheap moment to catch a problem.
- Finish with moisture-safe materials. Then condition the space and monitor humidity going forward.
Wall assemblies: what works and what fails
- Rigid foam insulation against the wall: Closed-cell foam board taped at seams acts as both insulation and a vapor retarder and tolerates damp concrete better than fiberglass. Seal edges and penetrations.
- Framed wall with closed-cell spray foam: Spray foam fills gaps and controls air movement, but it must go on a dry, source-fixed wall. Spraying over active moisture traps water behind the foam.
- Fiberglass batts against bare concrete: A common failure-prone choice. Batts can absorb moisture, compress, and hide mold against the wall. If batts are used, they need a proper air and vapor control layer and a dry assembly.
- Finishes: Mold-resistant drywall, inorganic flooring such as tile or luxury vinyl, and closed-cell foam insulation are safer defaults. Avoid carpet installed directly on concrete; if you want soft flooring, use a raised subfloor system with a vapor control layer and confirm the manufacturer's moisture limits.
Flooring and subfloor choices
Luxury vinyl plank and tile tolerate occasional damp better than laminate or solid hardwood. Engineered wood can work over a proper vapor retarder if the slab passes the manufacturer's moisture test. Any floating floor needs a vapor control layer rated for below-grade use, and any adhesive must be specified for damp concrete. Check the product data sheet for the maximum slab moisture before purchase, that number, not a general rule, decides whether the floor goes down.
Control humidity after the build
A finished basement still needs air movement and dehumidification. Size the dehumidifier to the space, set it to roughly 50% relative humidity, and keep returns and supply registers unobstructed. Run bathroom and laundry exhaust fans to the exterior, not into the basement air.
When you are ready to schedule the work, get a free estimate and we will walk the space with you and confirm each gate before walls close.
Frequently Asked Questions
Should you waterproof basement walls before finishing them?
Yes. Sealing and waterproofing should happen before framing, insulation, or drywall go in, because once walls are closed you cannot inspect or repair what is behind them. The University of Minnesota Extension notes the best approach is almost always to control the moisture source rather than stop it at the last line of defense. In practice that means fixing exterior drainage and grading first, then applying interior coatings or vapor-retarder products, and confirming the walls read dry with a moisture meter before the first stud goes up.
What humidity level should a basement stay below before renovation?
Target 30 to 50 percent relative humidity and treat anything that stays above 60 percent as a problem to solve before finishing. High readings point to either damp air that a dehumidifier can handle or an active water source that needs repair. Take readings over several days, including after rain, rather than a single spot check. If the number climbs after storms, the cause is water intrusion, not just humidity, and sealing or drainage work comes first.
How long should basement walls dry before renovation work begins?
Concrete needs time to release its own construction moisture, and any wall that has been wet needs to read dry on a moisture meter before it gets covered. There is no universal number of days, because drying depends on airflow, temperature, and how saturated the material is. The practical test is measurement: take readings at several points along the wall over a week or more and confirm they are stable and low. If readings keep rising after rain, the source is still active and needs repair first.
What materials help prevent moisture problems in a finished basement?
Use vapor barriers or vapor-retarder coatings on floors and walls, as EPA remodeling guidance identifies proper vapor barriers and vapor-diffusion strategies as moisture-control methods. Choose insulation and framing that can dry rather than trap water, and keep organic materials off direct contact with concrete. Metal studs and moisture-resistant board reduce the risk that a small leak becomes a mold problem. Leave an air gap or capillary break between concrete and finished assemblies so any moisture that does enter can escape instead of soaking into the wall cavity.
Preventing basement moisture during a renovation is not glamorous work, but it is the difference between a basement that lasts and one you rebuild. Reo-ServicePro brings 20 years of hands-on experience, owner-led project management, and a licensed and insured team to every job. We handle plumbing, electrical, and remodeling under one roof, so moisture fixes and finishes happen in the right order. Get started with Reo-ServicePro and build a basement that stays dry.